MiMi Dibble
THEscrapinator5000
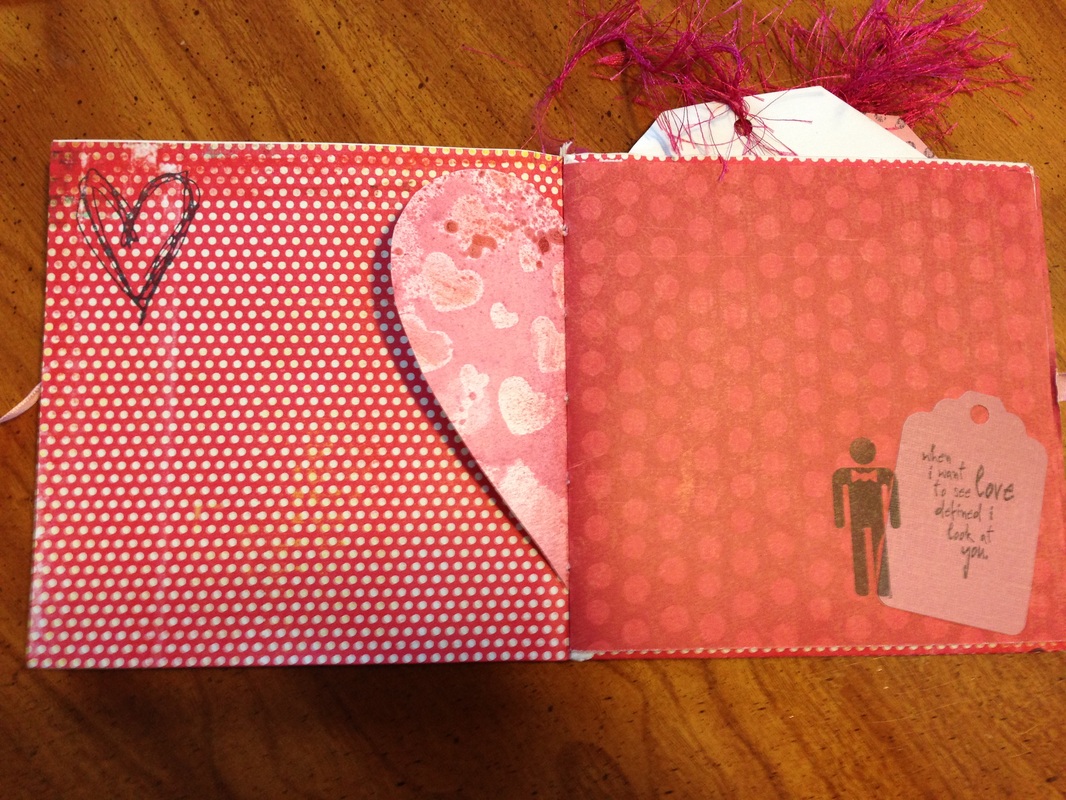
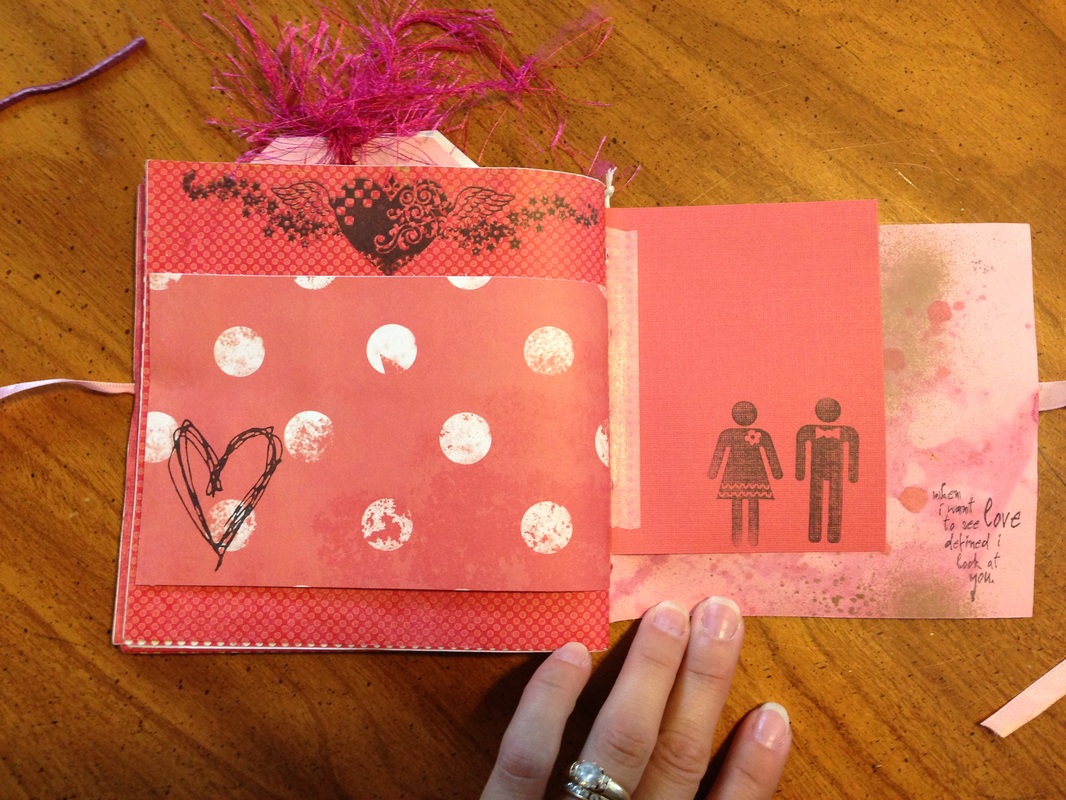
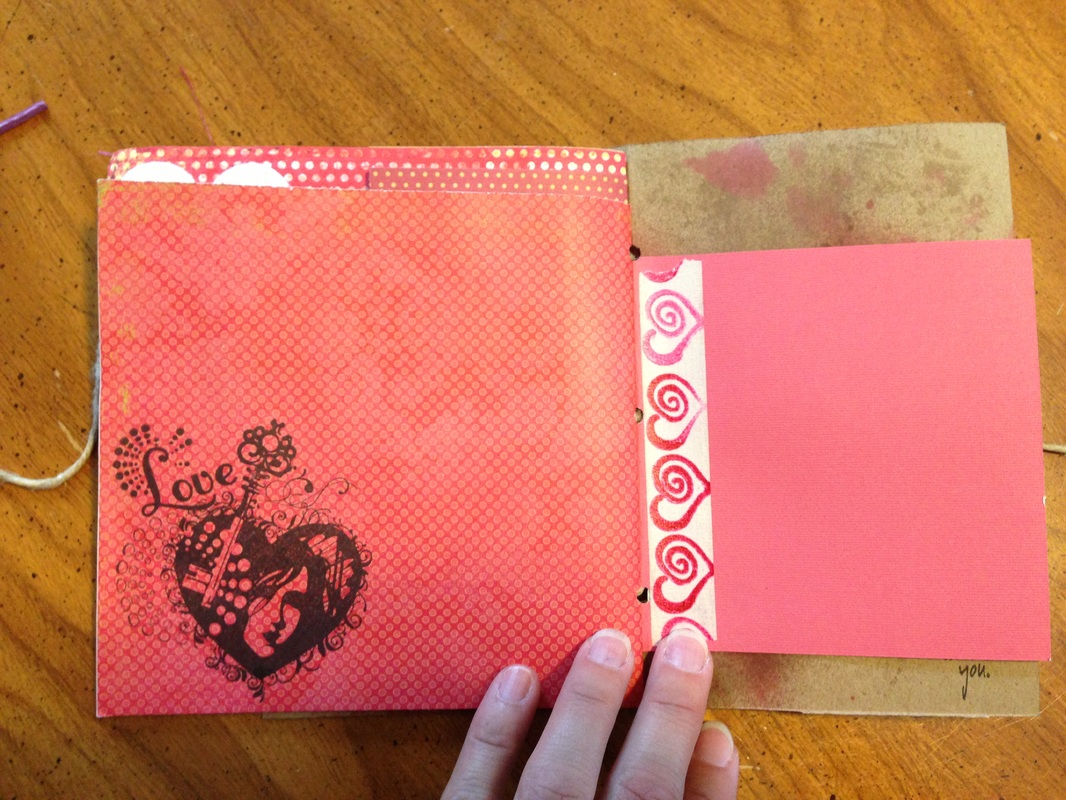
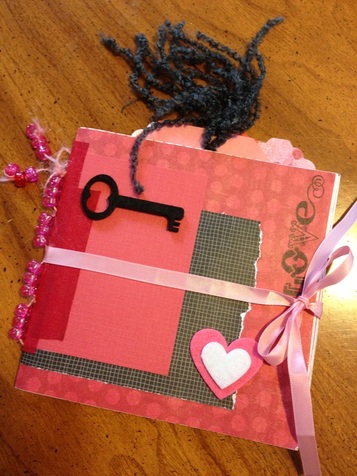
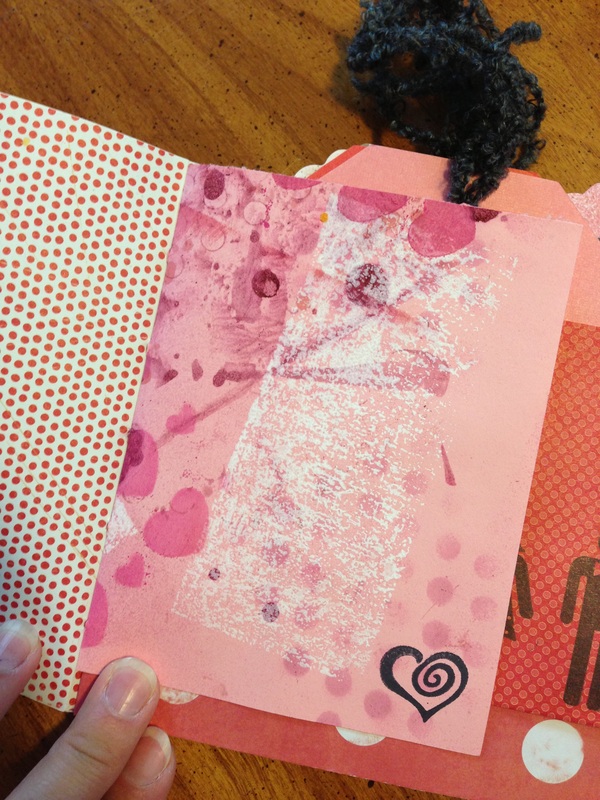
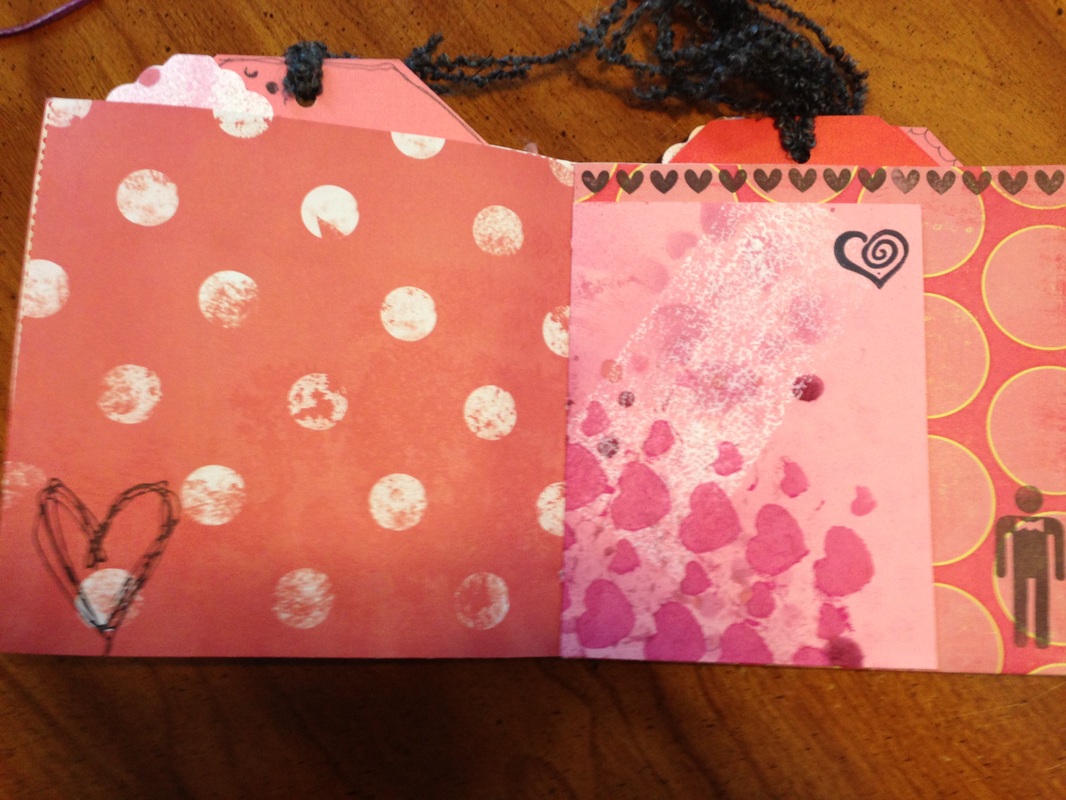
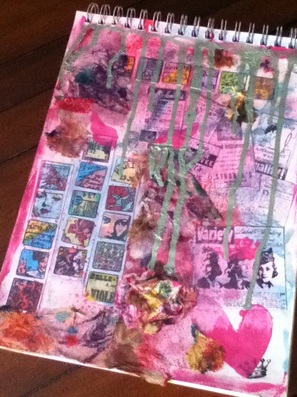
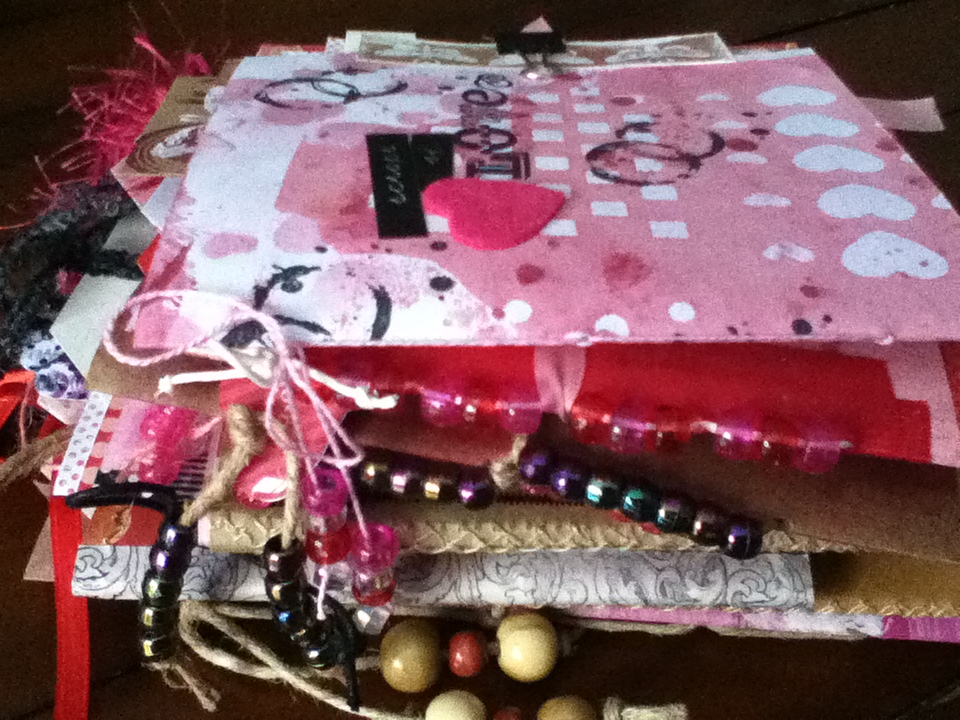
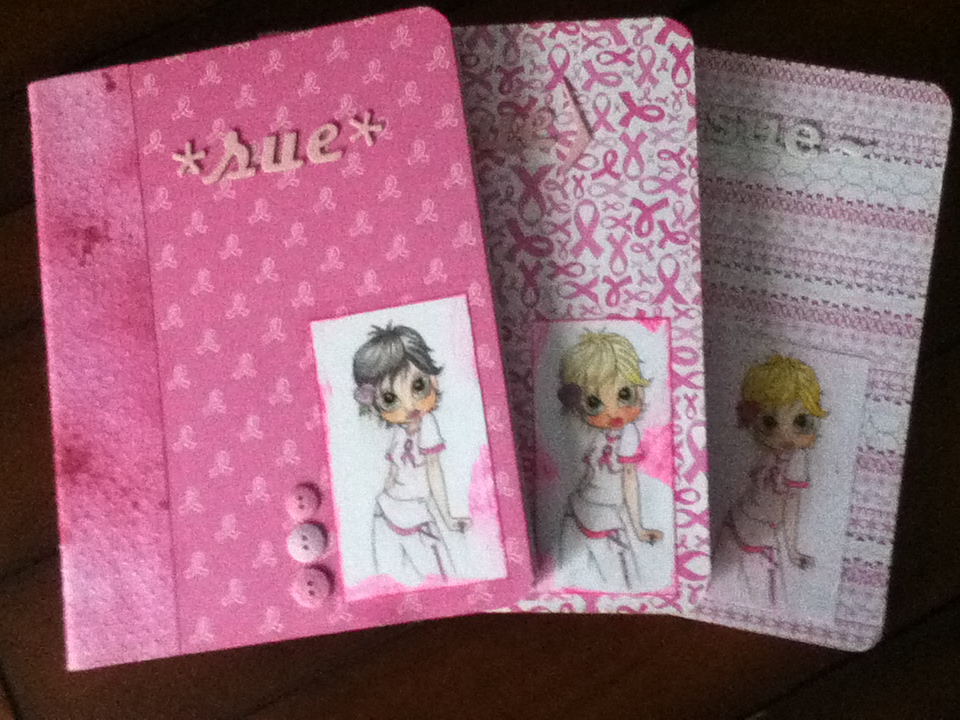
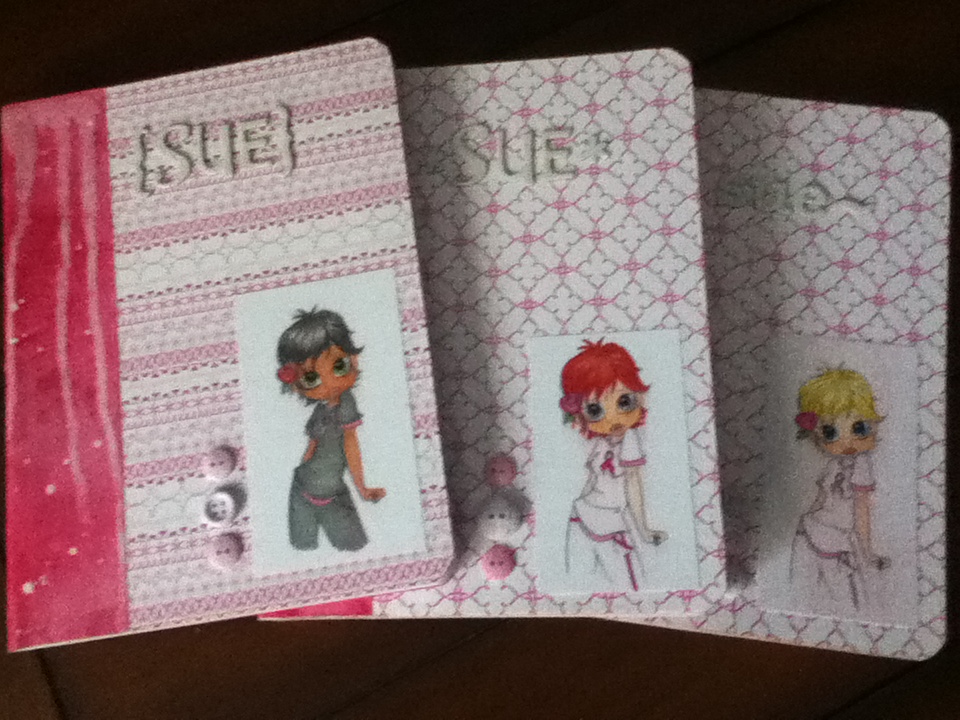
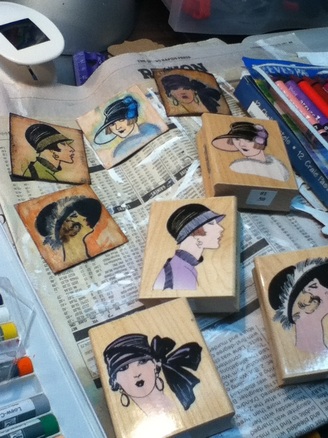
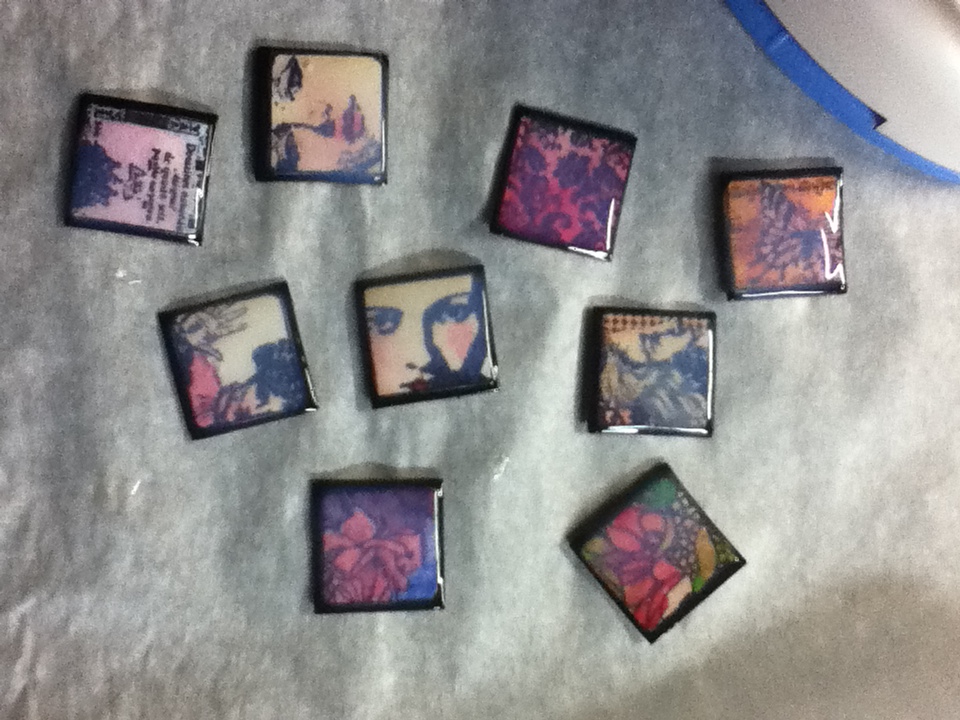
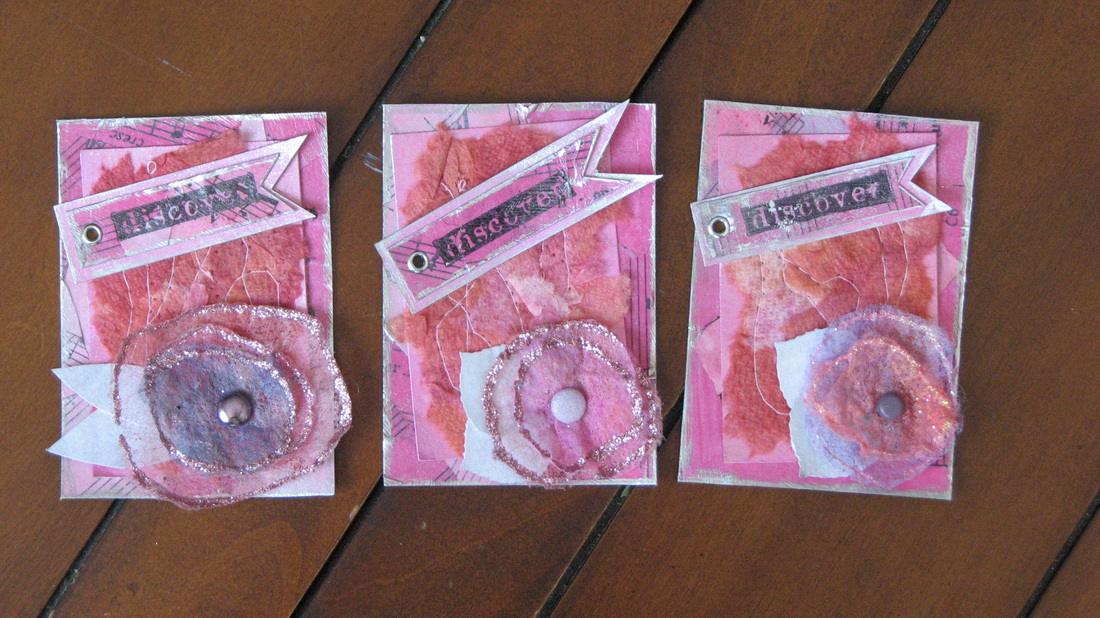
Wanted to share a few daybooks I made quite awhile ago but didn't show any pictures of the inside pages. I titled the "Love" because they are pink and red and have lots of hearts and love saying. There are potty people, keys and beads. 
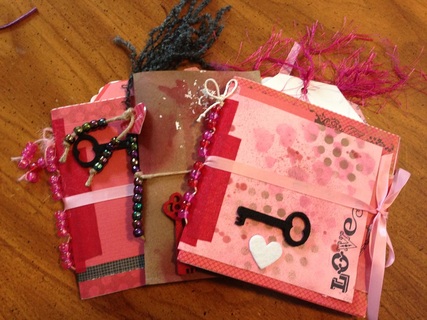
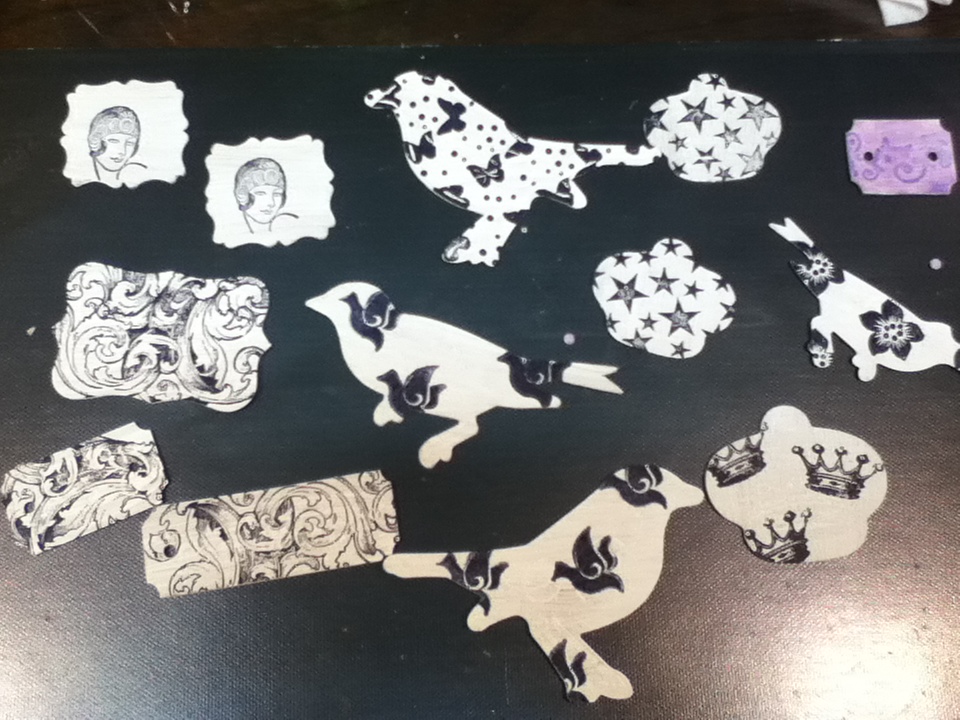
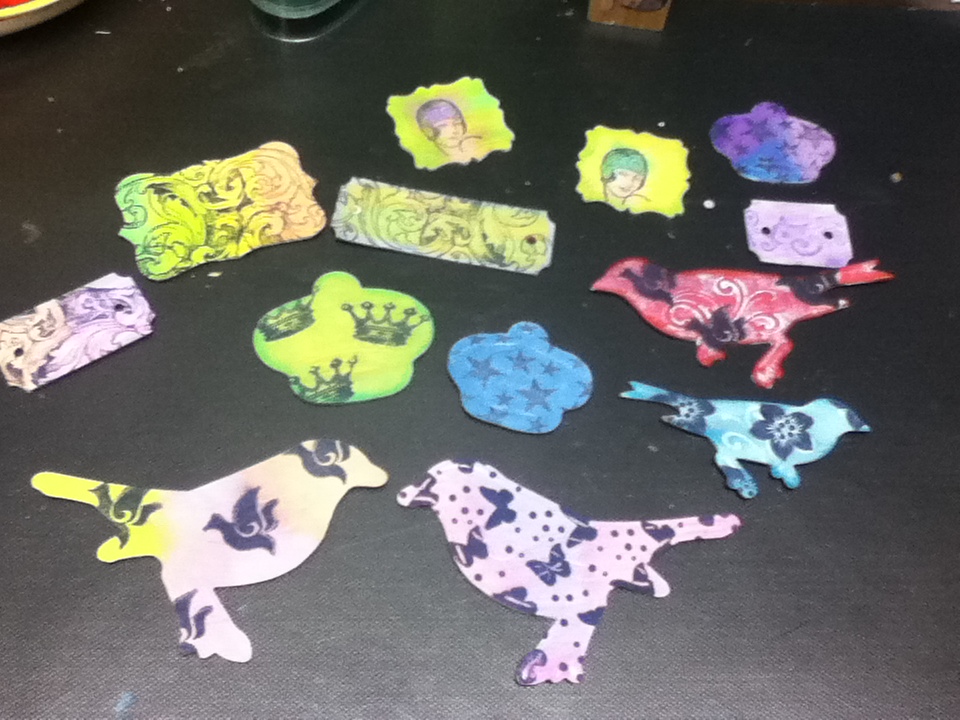
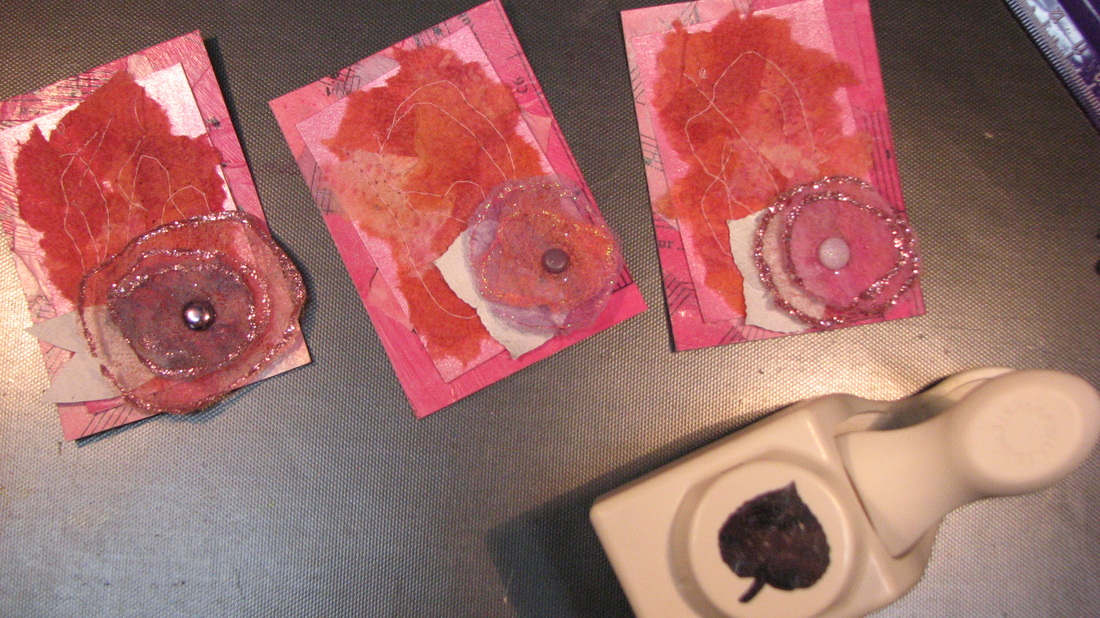
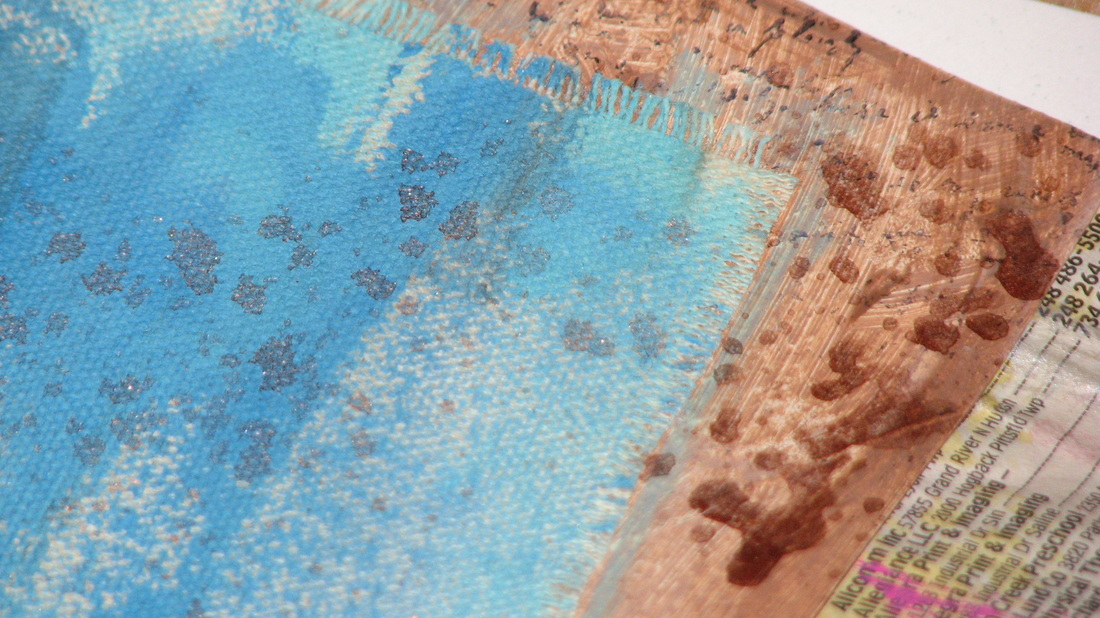
Although I used quite a bit of pattern paper for these books, I used a ton of scraps for the covers, tags and smaller pages in the books. These books all measure 6 x 6 and have large 4 x 6 tags in them. 
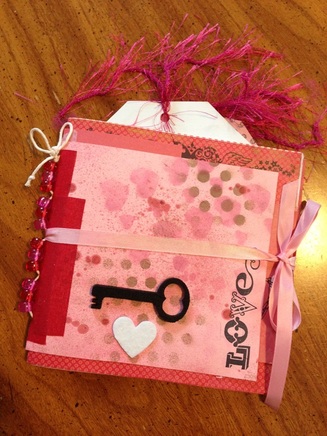
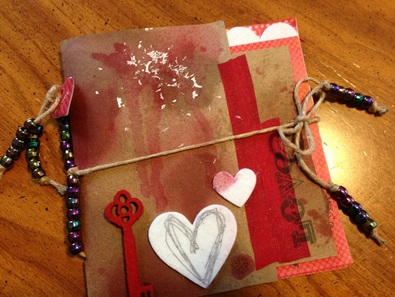
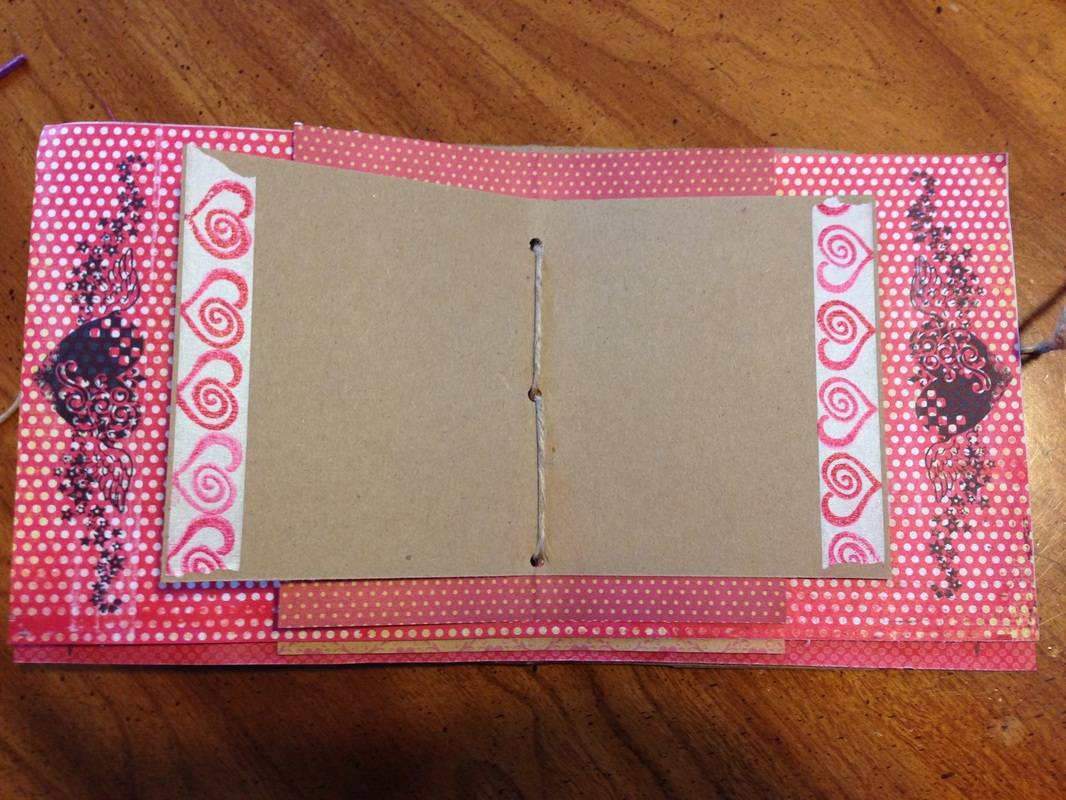
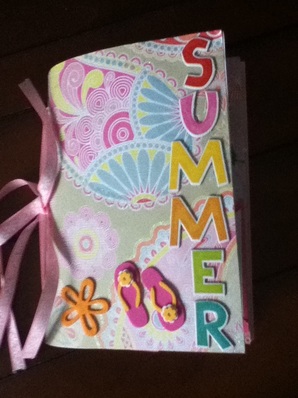
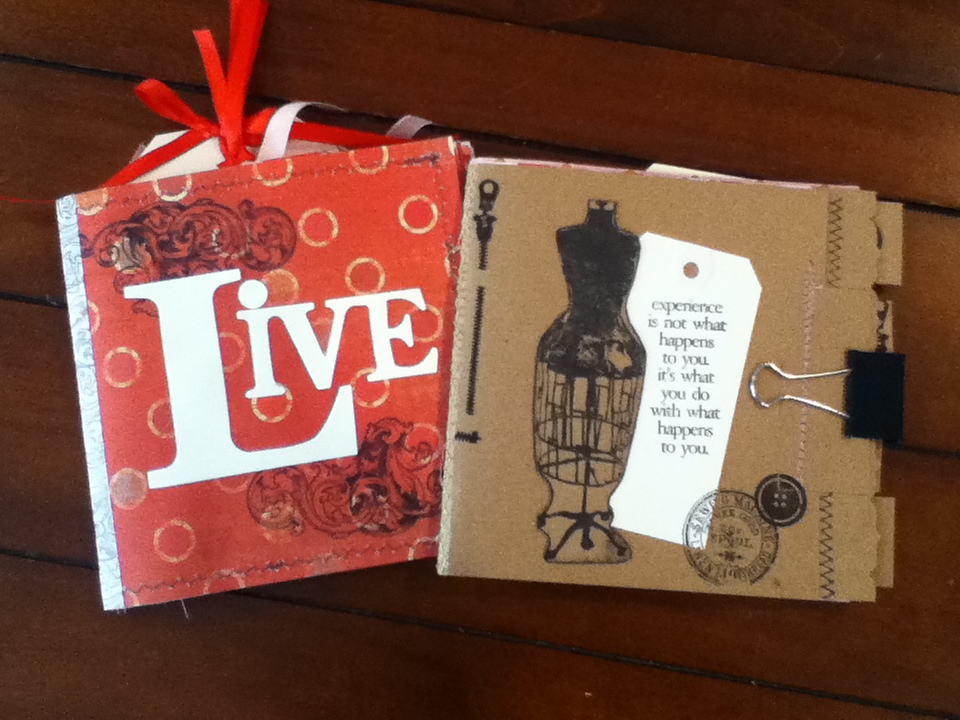
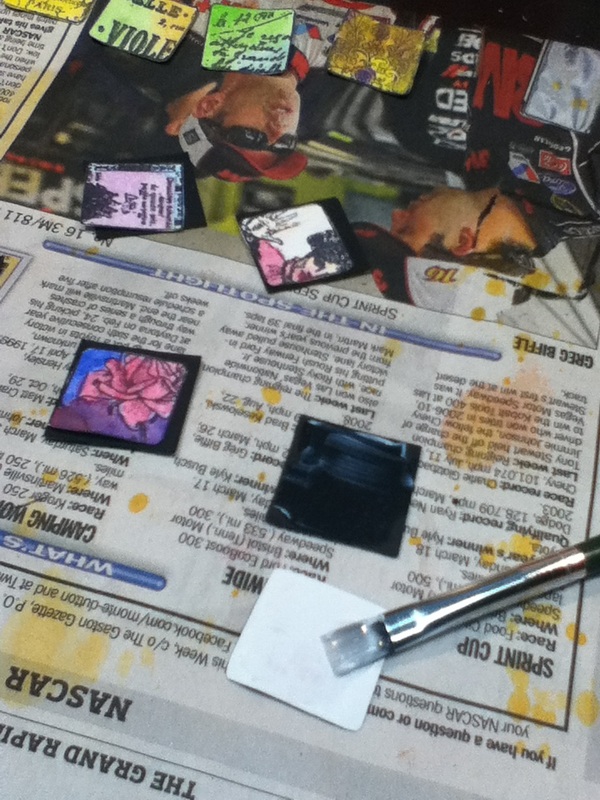
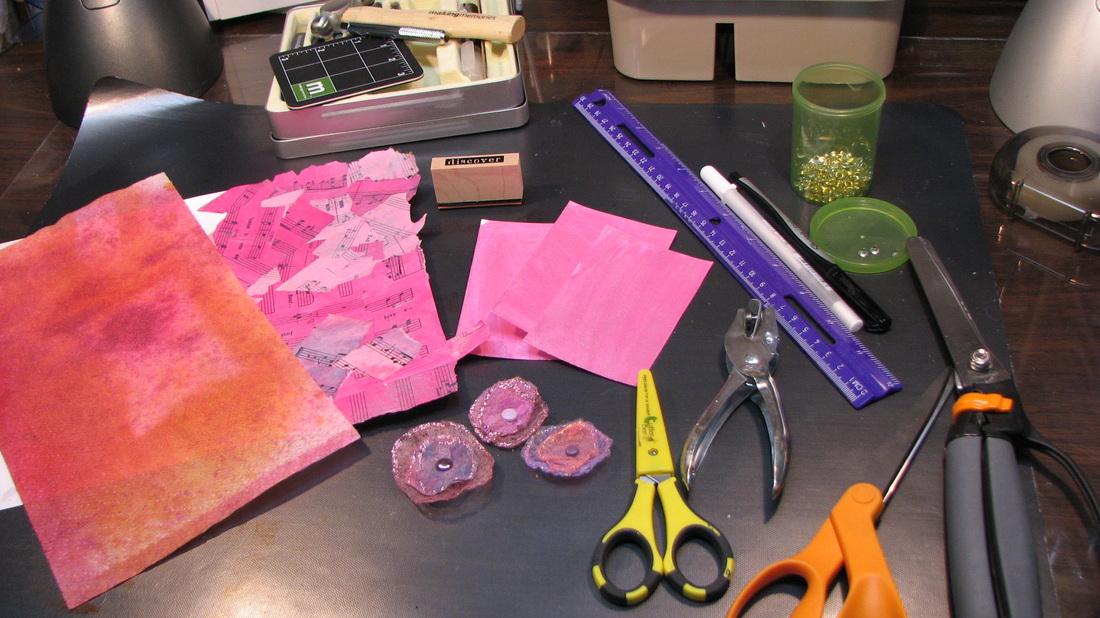
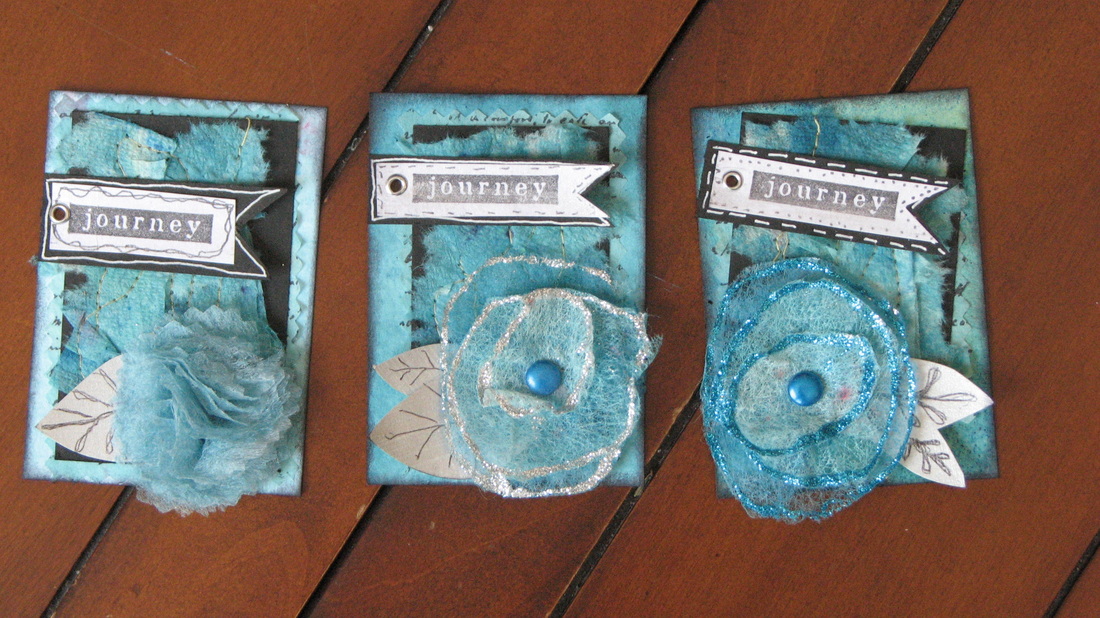
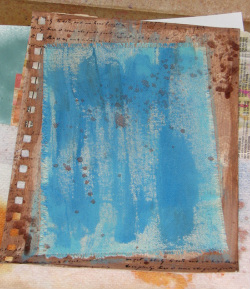
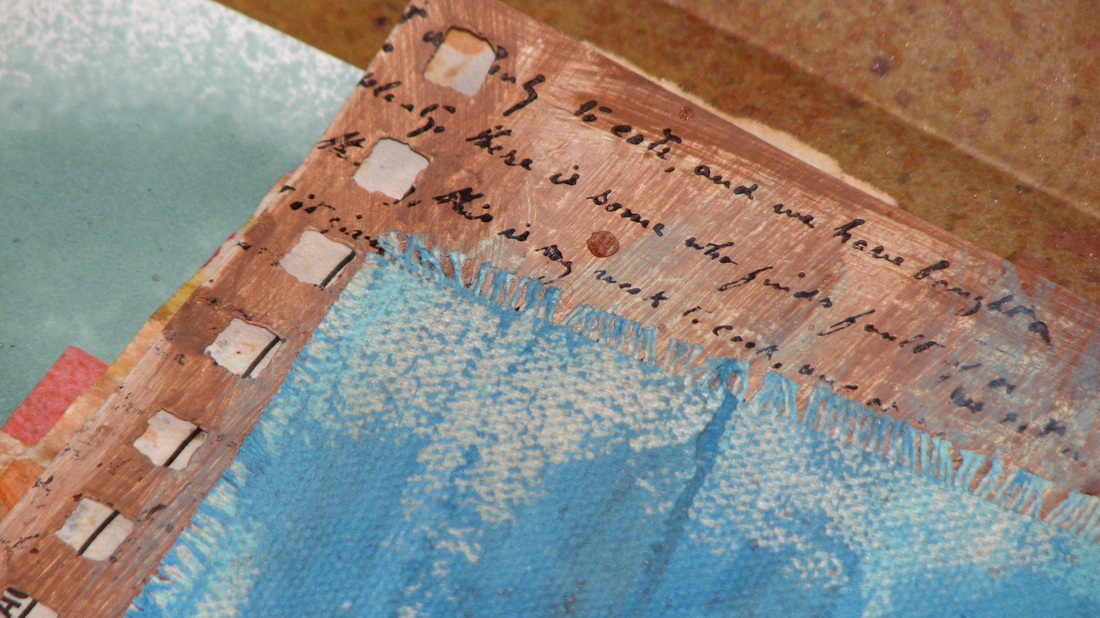
This one is bound with hemp and used kraft paper fro the covers. I like the kraft even though the paints and sprays are not a vibrant. The red tape on the cover is actually hockey tape I stole from my kids and the white tape with hearts is just stamped masking tape. 
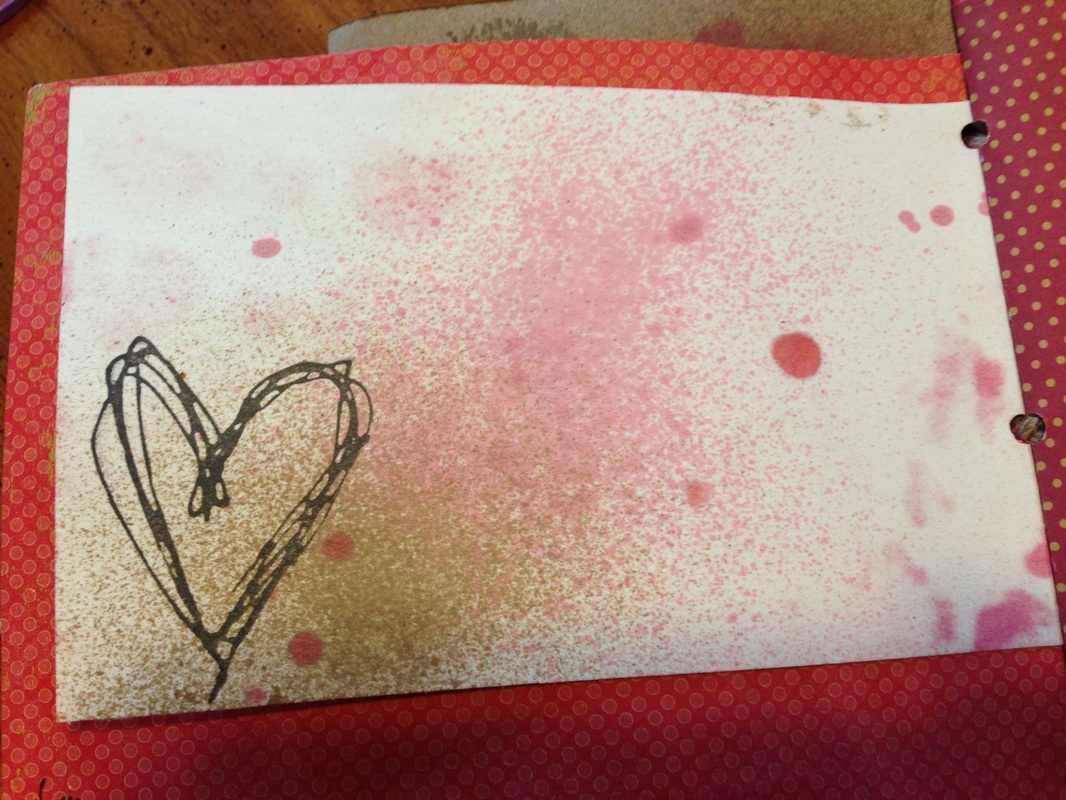
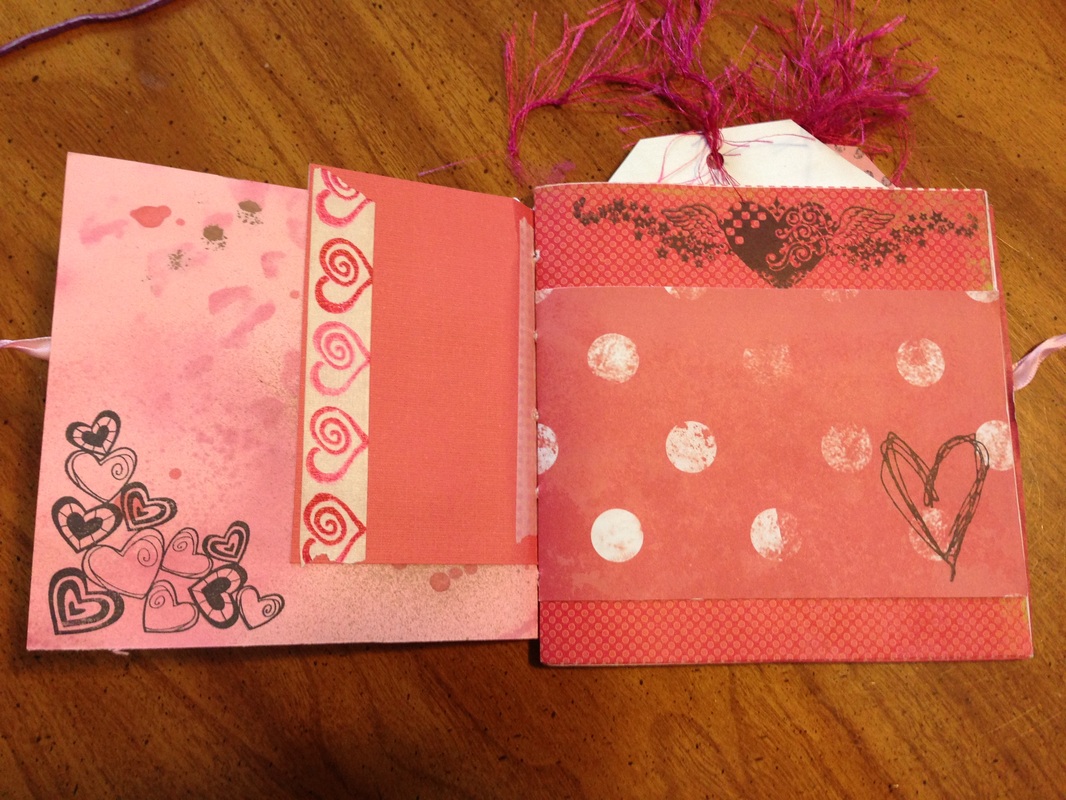
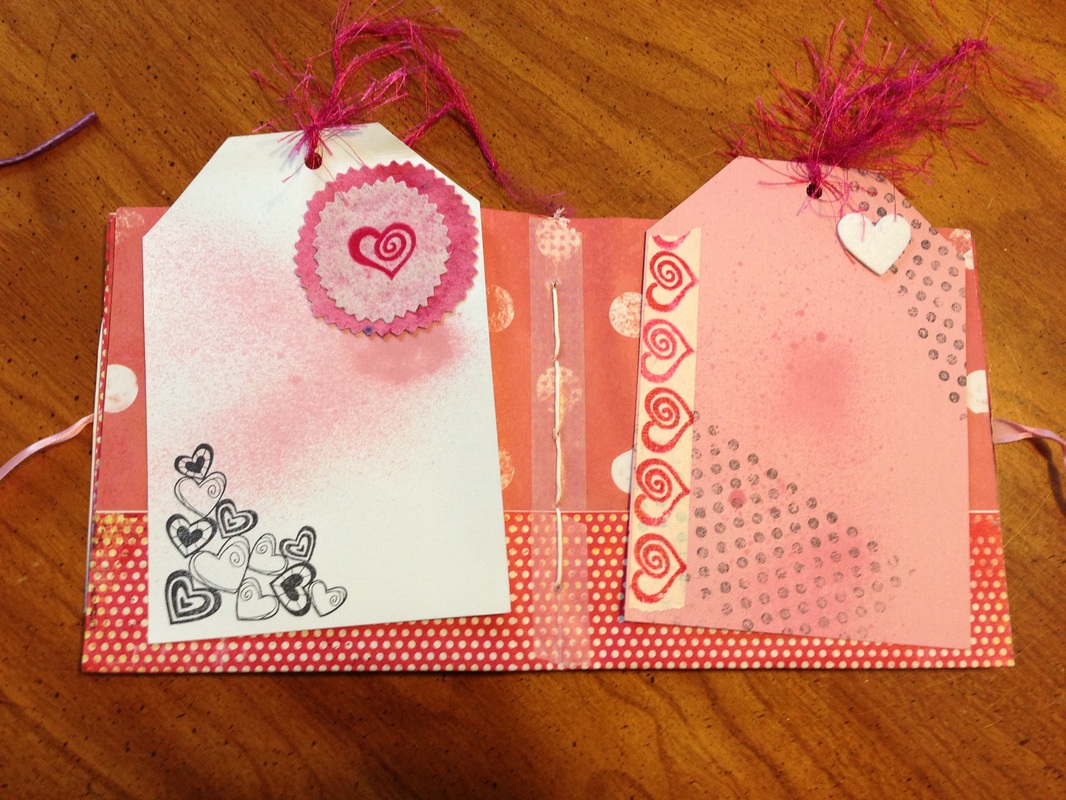
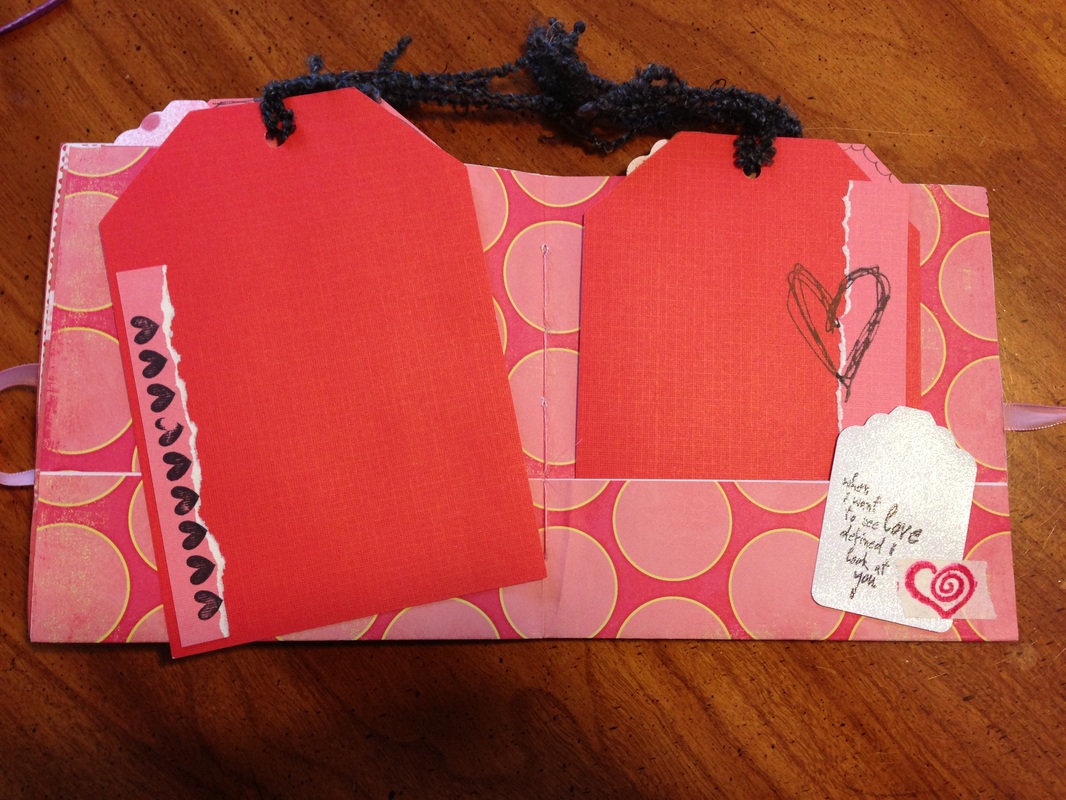
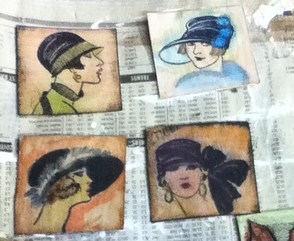
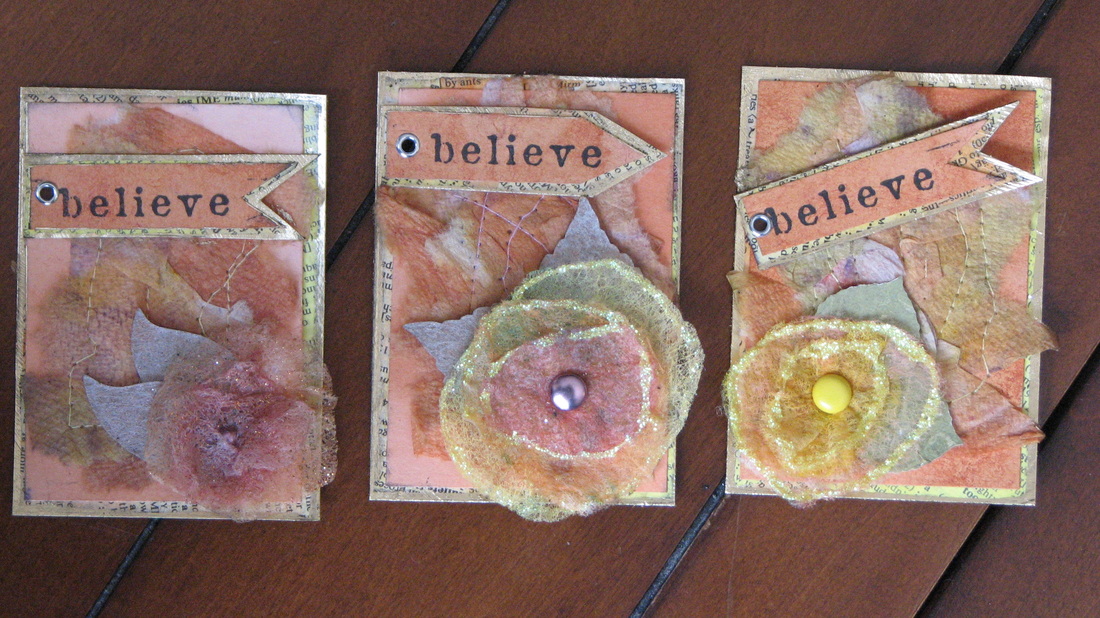
I just love the tags in this book. They are huge and have scraps and doodles. Again I used a lot of left over papers and stencil clean up papers for pages. Thanks for stopping by. Please leave me a comment and let me know what you think. If you think you'd like making daybooks, come check out Daybook Delights on facebook for lots of inspiration.
MiMi Dibble THEscrapinator5000
15 Comments
Day 12 - 21? Really MiMi? I know, it's horrid that I haven't blogged since the 11th but I have been creating. I have been fighting off a cold and not feeling great, and also very busy with family. These are in no particular order...so here we go. I finished decorating one of my daybooks. It's for one of our summer vacations where we stayed on the beach. I didn't make this book. It was a gift from Anne Daly Hotchkiss. Her blog is This blog made possible by Coffee. Check it out. She makes a lot of cute daybooks. I worked on an art journal page. It isn't quite finished but it was fun. I collaged with some stamped images I was playing with and coloring with my copics. I also used some painted paper towel pieces for collaging and to make a flower at the bottom. The paper towels are left over from wiping up paint. I used my homemade sprays with some stencils and also did some finger painting with stencils and just random spots around the page. Last, lots of drippage. Love it! I made about 10 daybooks/journals/mini books to put in my Zibbet. The last thing I've been working on is some Breast Cancer Awareness cards and journals. One of my husband's coworkers was diagnosed with breast cancer this year. Her coworkers regularly give her cards and little gifts to show their support. I helped out by making a stack of cards and 6 journals. She uses journals for meeting notes and I think she'll like these better than the company issued ones for sure. Big shout out to my friend Terri Surface over at One Crafty Cookie for helping me with this project by coloring these digis for me! Check out some of the cute cards she made with this same Breat Cancer digi.
I have also been having fun putting together a daybook challenge over on the facebook group Scrappy Diva's. I am an admin there and really enjoy the diverse group of crafters we have. Check out the challenge and the group here. Later this week I'll be posting a new Smash page I have completed and some more pictures of my Beach Daybook I just completed. Hope you enjoyed the post. Be sure to check out Scrappy Diva's on facebook and Traci Bunkers's blog and her 30 day challenge. MiMi Dibble THEscrapinator5000 I belong to and am an admin in the awesome facebook group Scrappy Diva's. We are hosting a Twinchie swap this month so I decided that is what I was going to work on today along with some Inchies, Inbetweenchies, and art tile shapes. Oh I know what you're thinking...what the heck is an inbetweenchies? Well Inchies are 1 inch square works of art, kind of like an ATC only smaller, Twinchies are the same only 2 inch squares and well, Inbetweenchies are what I call the 1 1/2 inch ones. Okay enough about the stinkin shapes and sizes and my crazy made up words. Twinchies and Inbetweenchies: I used recycled cardboad boxes as my base and cut out the squares using my Sizzix Square #2 die. I first painted them white and used Tim Holtz Tea Dye and Vintage Photo Distress Ink with water as a background. I then stamped my images with Archival Ink. Okay now that the boring stuff is over, I got out all the fun mixed media to play with. I colored them with watercolors, water soluable wax pastels, oil pastels and chaulk pastels. Fun right?!!! After they dried, I sealed them with Glossy Mod Podge. For the picture on the bottom right, the two on the right are Twinchies. Top one is done with oil pastels and the one on the bottom is done with the water soluable wax patels. The four on the left are the Inbetweenchies and were done with watercolor. These were also sealed with Glossy Mod Podge. Inchies: I cut out my inch squares with the same Sizzix die. I used recyled cardboad boxes again but painted them black instead of white. I used a Hampton Art Stamps called Paris Moments to make these. It's a big stamp with 15 different images on it. I just stamped it on white card stock and water colored the images. I let them dry, cut them out and used Glossy Mod Podge to adhere them and seal them onto the black squares I cut out earlier. When they were dry, I added Glossy Accents to the top. The images are slightly smaller than one inch so there is a black border all round the edge. They are still wet in this picture. They will have to dry over night. Art Tile Shapes: I have to be honest, I am not quite as happy with how these turned out. I think it was how I stamped them and how I colored them...maybe the color combos. Not totally sure. I do like some of them, but not all of them. I first painted them white and then stamped on them with Archival Ink. I used a make-up sponge and pigment ink to color them. I tried to blend it as much as I could with the make up sponge and sometimes with my fingers. I also sealed these with Glossy Mod Podge but didn't use Glossy Accents on them because I wasn't totally happy with how they turned out. To be honest, that stuff is expensive too so I didn't want to waste it if I wasn't going to like them. I will see how I feel tomorrow. I do like some of them so I'll probably Glossy Accent those and use the other ones in my art journal or junk journal. So that's Day 8 of Traci Bunkers 30 Days of Get Your Art On. It's never too late to join. Hope over to her blog and check it out. Till tomorrow.... MiMi Dibble THEscrapinator5000 I'd like to enter my Twinchies in the following challenge: http://sparklingblackrose-craftmylife.blogspot.co.uk/2012/09/craft-my-life-all-crafts-challenge.html I recently participated in an ATC swap. The theme was "What you love" and we had to make 9 ATCs. I really like to use recycled materials in my paper crafting so I made my ATCs all from recyled materials and scraps. I made 3 different color schemes. Here's what I came up with: The process was very simple and easy. I painted music sheets from an old book in 3 different shades of pink. I then collaged pieces of each shade onto left over card stock. I cut that down into 2 1/2 x 3 1/2 pieces and used these as my base. I painted a different piece of scrap card stock with a lighter shade of pink glitter paint and cut that down to 2 x 3 so they are slightly smaller than my base. When I make my own dye sprays or am trying out a paint color, I test it on book pages, music sheets, news paper and scraps of card stock. I also save my paper towels and baby wipes that I use when catching over spray, testing colors or just wiping up. I keep it all in a box, organized by color to use it later on projects. I grabbed some dark pink paper towels out of that box and ripped some of it into small pieces. I arranged them on the pink glitter card stock and then sewed them down in a random pattern with my craft sewing machine. Hint: don't use cheap thread when sewing paper towel to card stock. It doesn't work. I had to change to some quality thread. Usually cheap thread works just fine when sewing paper. Alternative to a sewing machine: If you don't have one, you can do one of two things. You could put your card stock on top of a mouse pad and paper pierce your pattern and then sew the paper towel down by hand with a needle and thread. Second option is to use bigger strips of paper towel and sew them down with cross stitch thread. Here's what it looked like when I was done sewing it and attached it to the base. How fun is that?! I love it! I make flowers out of used dryer sheets and attached one of those to each one. I also made some leaves. Some I punched out with the Martha Stewart leaf punch and others I just cut out by hand. I attached the flowers with hot glue so they wouldn't come off. I make a few different types of flowers out of used dryer sheets. I tried to use ones that were fairly flat for this project so they could be stored in plastic sleeves if any of my swap partners wanted to store them that way. I finished them off my cutting out some banners and stamping inspirational words on them. I made the banners double layered and attached them with and eyelet. I used a silver leafing pen to edge the cards and banners. Here are the finished orange ones. The background paper on the base of these is dictionary paper. The leaves are recycled boxes with used dryer sheets glued on top. They were sprayed with homemade metallic spray. I used a gold leaf pen for my highlights and edging. The last set of blue ones are made a bit different. I didn't collage on the base. It is just colored card stock that I edged in black. The next layer is old book pages and then the paper towels are sewn onto plain black card stock. On these, I used a black pen to doodle leaf veins and a white pen to doodle around the banner edges. I hope you like the project and I hope it inspires you to make something creative. If you have made recycled art or ATCs, I'd love to see them and feature them on the blog.
Next up is a mini I made titled "Spring is in the Air". It is made totally from recycled materials or thrift store purchases. It was a lot of fun to make. Keep an eye out for that series to start. Thanks for stopping by. MiMi THEscrapinator5000 Helllllloooo Molding Paste!!! Boy, did I have fun today. I played with molding paste, metallic watercolors, paint and home made spray inks. I belong to a group on facebook called Stampin and Taggin Place. The swap this month is rolodex cards. I've always wanted to alter rolodex cards so I thought this would get me started. There are so many different ways you could do with them. It's kind of like ATCs. I picked up my rolodex at a thrift store for $1.99. Yay! Those things are like $30 in the stores. How to alter a rolodex card using molding paste:1. The first thing I did was to use my home made spay inks to make a bright colored background. I used orange and yellow. I just sprayed randomly, trying not to be very neat about it. 2. I used a pallet knife to spread a thin, even layer of molding paste on the card. I didn't spread it over the card completely. I then picked out a rubber stamp and stamped the image in the molding paste and then let it dry. Be careful if using your heat gun. The molding paste will bubble if you get it too hot. *Tips - if you spread the molding paste too thick, your image will not stamp well. Also, if you are stamping several items like I was, make sure to clean off your stamp every 3 or so stamps so the molding paste does not build up on the stamp and again give you a poor image. 3. The next step is to paint the image. I used craft paint and metallic watercolors. I started by painting the center of the flower image with craft paint. Next I used a light color craft paint to paint the flower pedals and then went back in with a darker shade of the same color and outlined the pedals. I then used my metallic watercolors to go over the pedals with the same color to give it some shimmer and blend the colors together. Additionally, I added more watered down craft paint to the center and painted the leaves in the same way, craft paint, then a hint of watercolors. The last step was to paint the rest of the molding paste in the background of the flower with a light yellow or blue watercolor. I also gave them all a spritz of glitter spray. Just keep fussing with the colors and adding layers until you are happy with the coloring. Here are some more close ups of the finished product. I really enjoyed this project and hoped you did too. As always, let me know if you have any questions on the tutorial. I'd be happy to help and would love to see if you have done any projects altering rolodex cards.
MiMi Ta Dah! Do you love it or what? I totally love this and had the best time making it. I know, I know, I gotta stop saying how much I love the stuff I post but I do love it. I guess that's a good thing right? This was the first time I just started a project with no inspiration or direction and I just totally winged it. I usually have some general direction even if it changes a bit throughout the project. I simply started with painting the background in earth tons that were originally going to be my color palette...cream, brown, white, gray. And then bham! Color happened and I love it. I used a lot of texture stamps and scraps of things I have already made. My intention is to use this art journal for me to explore different techniques and continue to develop my mixed media skills. Hopefully a fun cover will inspire me to use it more and more. Do you have a fun art journal cover you have altered? Please share. I'd love to see it. MiMi ps The best part about making this project..my boys loved it! Alter a sketch book? No problem. Give it an "organic" feel? Problem. I know what organic means and how it applies to food and even decorating and fashion maybe...but art? Hummm, I wasn't sure how this was going to play out but I was up for the challenge and by the time I finished, I was thinking my style might even be a tad organic. That is of course if you think this sketch book actually has an organic feel. I'm still not sure of that but I am sure I love it and had a ton of fun doing it! Okay so how did I get from no clue to the finished product? It wasn't easy. Getting my inspiration:The person who asked me to make them the sketch book emailed me a picture that kinda indicated the organic feel she was going for. Helpful but I still was stumped. So, what do you do when you are stumped? Google! First Google search: organic Second Google search: organic style Third Google search: organic art Ahhhhh! Really? At this point I thought I needed a paper bag to breathe into so I went back to basics...color and my supply of homemade embellishments. I pulled out a couple shades of brown and blue paint and some fabric flowers I made using the Tim Holtz tattered florals die. TIP: I tend to make lots of flowers in a sitting and keep them in my supply and then pull them out when needed. I make different kinds, sizes and colors. I find that this helps me to be more productive when I am making a project. The process part 1 - the background:This sketch book comes bound so the first thing I did was to take the cover off and give it a good coat of gesso. The cover was originally green so once it was dry, I gave it a second lighter coat to make sure it was totally covered. Using a damp brush, I painted a light brown color in a streeking pattern with no intention of total coverage. I then used a dry brush with a thin coat of the dark brown over the top. I made it a little darker around the edges. Using black Archival Ink, I stamped in a couple spots with a script stamp. The next part is the canvas...I glued it down unpainted using Elmers craft spray adhesive. This stuff is very sticky. Protect your area when spraying it. I frayed the edges before gluing and didn't glue the frays down. I used both the blue colors I picked out and a dry brush to paint the canvas. I intentionally got some off the edges of the canvas onto the background. After the paint on the canvas was dry, I added some of my homemade sprays using Dazzling Metalics Rich Espresso paint. I held my finger of the nozzle when I sprayed it so it would not come out in a fine mist but rather leave larger drip marks. I also decided I was going to use an additional color besides the four I picked in the beginning for inspiration. I picked wine and used my finger to make some hightlights around the edges. At this point, I was kinda figuring that the "organic" feel I was supposed to be going for was blown. I had this nice, neat, clean lines, just right image in my mind of organic and thus far this sketch book is nothing like that. This is more like messy, sloppy, spotty, blotchy. Oh well, I love it so on to the flowers. The process part 2 - flowers:I thought that when I was done with the background, I would just attach the flowers I'd picked out in the beginning and move on. One problem.... This flower on this sketch book was not going to work. I suppose if I had that nice, neat, clean lined background it would have worked out great. But I don't sooooo.... I altered the flower to match the feel of the book. Here's what I came up with.... Ahhhhhh, LOOOOOOOOVE it!!!!!! I altered the smaller flower as well and attached it along side an embellishment I made with hot glue, a rubber stamp and some acrylic paint. I will do tutorials on the flowers and the hot glue embellishments in a seperate post. The process part 3 - the title:The last step was to put the word "Art" on the cover. I decided to go with wood. I used Woodsies, small thin pieces of balsa wood. They come in large packages and are really inexpensive. There are squares, circles, rectangles, mixed shapes and letters. These are really neat to use. You can cut them with an exacto knife or a die, stain them, paint them, stamp on them... really fun. I thought the wood felt organic and would help with the theme of the book. I sprayed the pieces with Walnut Ink. I love this stuff. I know a lot of people own all kinds of sprays and mists. There must be a dozen on the market or more. I don't own any of those commercial spays, never have. I make all my own with one exception - Walnut Ink. It's one of my favorite supplies. It's not cheap but it goes a long way. The color is very intense. I mix it with water to dilute the color. After my wood pieces were dry, I used my wood burning tool to spell out ART. I took some of that same wine color paint that I used on the the edge of the cover, to lightly smear on the top of the letters to tie it into the background and flowers. I really like how the letters turned out. Besides the letters, there are number sets, symbols and word sets that can be used with the wood burner. They words fit perfectly on the smaller pieces of rectangle Woodsies. They are inspirational words like love, inspire, believe etc. If you don't have wood burning tool, ask your husband. He might have one in his workshop. It's really easy and fun. You can also burn leather. The finished product:I used my Cinch to rebind the cover back onto the sketchbook. So what do you think? Did I get organic or ummmm, not so much? Either way, I had a ton of fun doing this and the recipient loved it so, mission accomplished. What's next?1. butterfly notes journal
2. hot glue embellishment tutorial 3. flowers - probably a couple posts on flowers, how I make them and how I altered the flower in this post. 4. 365 for January 5. February's journal - not a 365 but it will work. 6. altered art journal cover Until next time, thanks for stopping by and please feel free to leave a comment. I'd love to hear what you think! |